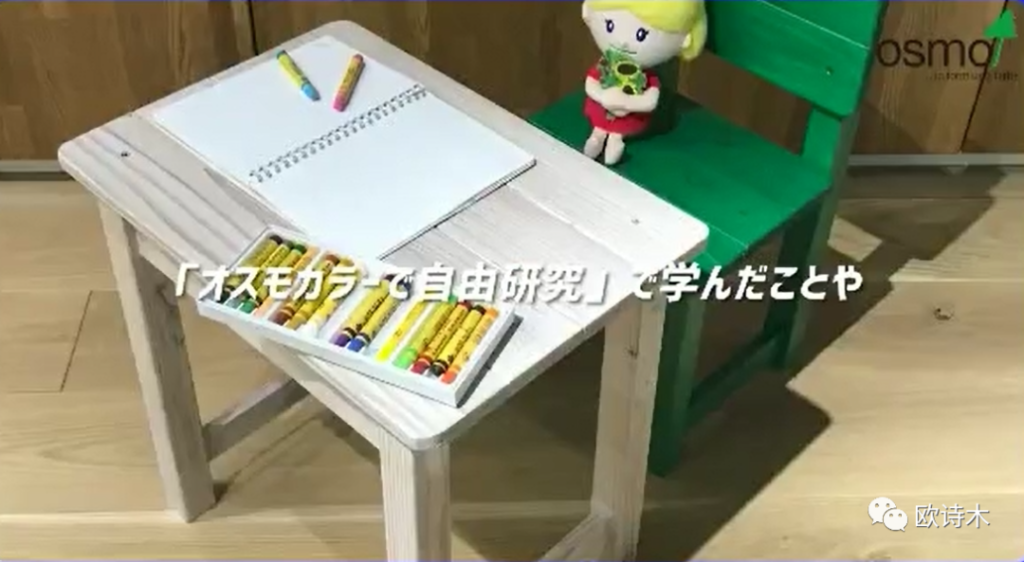
Purchasing furniture directly from a store is certainly quick and convenient, but making furniture for your children by hand carries a unique sentiment. From selecting the wood to final assembly, the entire process can also be very stress-relieving. After completion, paint it with the colors your children love, making it the most unique piece of furniture in your home. Today, I would like to share this DIY process with you: PS: All German Osmo oils are safe and harmless, and the process of applying the oil can also be safely participated in by children, turning it into a rare parent-child interactive experience.
Step 1: Sand the wood appropriately. Begin with coarser sandpaper (around 60 grit), sanding in the direction of the wood grain with even pressure from start to finish, and then repeat the process from finish back to start. Continue this process, sanding through the grades until you reach 240 grit, and then clean the surface of wood shavings and dust. (Sanding in grades: 60 grit –> 80 grit –> 100 grit –> 120 grit –> 150 grit –> 180 grit…)
After completing the second coat of paint, allow for a 12-hour drying period while ensuring proper ventilation to maintain a dry environment. Your eco-friendly children’s table and chair set is now complete. The brushes used for applying German Osmo wood wax oil can be cleaned with German Osmo brush cleaner for future reuse. Place cotton cloths stained with wood wax oil into a plastic bag, along with the used brush cleaner, add an appropriate amount of water, tie the bag, and dispose of it at the designated recycling facility. German Osmo wood wax oil, which can naturally decompose and return to nature, is a natural wood finish developed and produced in Germany, with ingredients derived from the essence of natural plants. It does not form a film on the surface of the wood; instead, it is a penetrating, open-pore coating system that allows the wood to maintain its natural breathability.